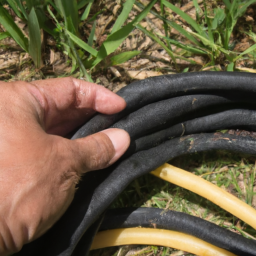
How To Patch A Garden Hose
How To Patch A Garden Hose
Introduction to Garden Hose Repair
Struggling to maintain your garden hose? Know the importance of keeping your garden hose in mint condition. Don't let your garden hose become obsolete before its time! Repairing your garden hose can be a daunting challenge, but with the right knowledge and tools, this process is a breeze. In this article, we explore the various steps you can take to get your garden hose in tiptop shape. Read on to learn how to patch a garden hose!
Preparing Your Garden Hose
The first step to patching your garden hose is ensuring that it is prepped correctly for the repair job. This involves taking the hose to a safe and dry area, allowing it to completely air-dry, and using a cleaning brush to scrub off any dirt or debris. Once this is complete, inspect the hose for tears and other damages. Make sure to thoroughly check the entire length of the hose, as the damages might not be seen right away. Once you've identified the damaged area(s), make sure to mark them with a permanent marker or a piece of tape to make it easier to work with.
Filling the Holes
Next, use a garden hose patch to cover the hole. These patches are available in both permanent and temporary varieties, and should be chosen based on your preference. If you're opting for a permanent patch, make sure that it covers the hole completely and that the edges are tightly secured to the hose. If you've chosen a temporary patch, use duct tape to ensure it is tightly secured against the hose.
Testing the Repair
Once the patch has been applied, test it for any leaks. Connect the hose to a spigot and run water through it. Make sure to check for any sprays or leaks. If there are noticeable leaks, immediately disconnect the hose from the spigot and try to re-secure the patch. If this doesn't help, replace the garden hose patch with a higher quality one.
Sealing the Hose
To ensure that your patch will stay in place for an extended period of time, use a garden hose sealant spray. These products are specifically designed to make leather and rubber patches more resistant to heat, water, and other environmental elements. Make sure to use the product according to the manufacturer's instructions, and spread a generous amount of it over the patch area. Allow the sealant to dry before you use the hose.
Maintaining Your Garden Hose
Once the garden hose is effectively repaired, you need to make sure that it's properly maintained. This involves storing the hose in a cool and dry place, and regularly checking the hose for any damages or leaks. Also, make sure to use proper techniques while using the hose; do not stretch it at an angle, or drag it against sharp objects. Lastly, run water through the hose after every use in order to ensure that it stays in top condition.
Conclusion: Patching A Garden Hose
It's essential to keep your garden hose in good condition, and patching it is a great way to ensure that it remains in tiptop shape. Follow the steps discussed in this article, from cleaning and prep work, to using a patch and sealant to make sure that your garden hose can keep up with all your gardening needs. Keep your hose in good condition to enjoy many years of gardening!

Previous Page
Next Page